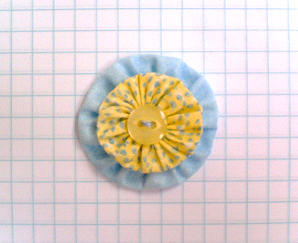
(For links to other Yo Yo ornament ideas visit this blog page.)
Tutorial:
This ornament was made from a 2 1/2 inch diameter styrofoam ball and 12 yoyos. The yoyos were made from 3 inch circles cut from cotton fabric. (If you aren't familiar with yoyos there are links to two tutoriials in the "Links and Tips" section below.)
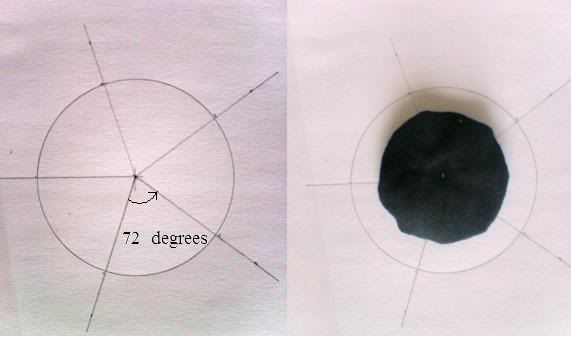
As I completed each yoyo, and before I cut my thread, I sewed a button to the center. Then I took two of the yoyos and marked five spots equal distance apart. You can use a needle and thread or one of those quilting markers with the disappearing ink. (I'd do it on the back side, just in case.)

Then I sewed (tacked) a yoyo to these center yoyos at each of the marked points. Here are the two sets of yoyos.

Next I prepared the ball. I choose a yellow print fabric for the ball and cut a long strip of fabric 3/4 inch wide. I wrapped the fabric around the ball until none of the surface was exposed. Then I attached the end of the strip to the ball. I used Fabri Tac glue, but a pin or two would also do the job.

(I liked the look of this little ball. It had me wondering what it would look like with several coats of decoupage medium.)
Now I was ready to put the yoyos on the ball.
Pushing a pin through the button of one of the center yoyos I stuck it to the ball. Then I adjusted the position of the five attached yoyos so that they were equally spaced around the ball and stuck pins through each yoyo.
Top view:

Side view:

Next I flipped the ball over and placed the other set of yoyos on the ball so that the 5 outside yoyos fit into the gaps of the ones below. Then I pinned the center one to the ball.
Diagram showing the last 6 yoyos dropping into place:

When the last 5 yoyos were evenly spaced around the ball I pinned them in place.
Then I was ready to glue them, one at a time, to the ball. Saving the center yoyos for last, I loosened one pin and applied a dab of Fabri Tac glue to the center back of the yoyo. Then I pushed the yoyo back in place. I repeated this for nine more yoyos. Because my center yoyos seemed a little loose I used a tooth pick to apply glue to the backs of them. (If they been snug I wouldn't have bothered.) When the glue was dry I removed the pins.
To finish it off I attached a loop of ribbon in the triangular gap between three random yoyos. At the opposite end I attached a loopy ribbon tail in the triangular gap between three yoyos.
Links and Tips
Yoyo tutorials:
http://heatherbailey.typepad.com/photos/how_to_make_a_yoyo/hbyoyotutorial1.html
http://anniescupboard.blogspot.com/2008/03/fabric-yoyo-tutorial.html
Additional Tips:
1. As mentioned in the second yoyo tutorial you don't need to turn under the edge of the circle if you plan to cover the center of the yoyo with a large enough button or embellishment, such as another yoyo. Choose a tightly woven (fray resistant) fabric and consider putting a drop of a "fray check" type product in the center of the yoyo before adding the button. If in doubt try making one both ways. For my yoyo bola project I used black tshirt fabric and it didn't need to be turned under.
2. In these tutorials the authors use cardboard or paper for their circle templates. I prefer to use a scrap of adhesive vinyl (also known as Mactac, Contact Paper, adhesive vinyl shelf paper, Fablon or sticky-back plastic) to make a template and to sew the yoyos. I can use one template over and over again. (If you don't have access to adhesive vinyl, Reynolds white freezer paper makes good templates too. You need to iron it on, but you can use one template over and over again.) To see how I use vinyl adhesive to cut and sew a yoyo check out this blog page.

3. Would you like a diagram to help you mark the five points on your yoyo? I have provided one. Just click here.
4. Ideally I would use a bias strip of fabric to wrap the ball but if the fabric doesn't fray excessively a strip cut on the straight of the grain works just as well. This one was cut on the straight of the grain and I only needed to clip off a few frayed threads when I finished the wrapping. (Embroidery scissors get in nice and close without encouraging more fraying.) For my yoyo bola project I used a strip of t shirt fabric. It hugged the curves very well but it made for a slightly bigger ball.
5. I acknowledge that one could assemble a ball with just pins, but the glue makes the ball more child friendly. If one did want to use pins they could use a round headed pin, or a pin with a beads. They could push one into each buttonhole. Or they could use something other than buttons. Like a felt circle or a tatted or crochet flower or... The possibilities are endless.
Variations on the theme
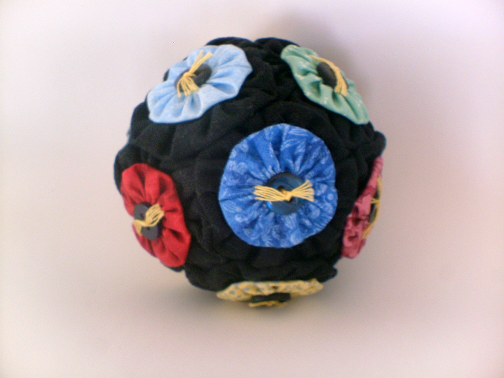
1. My first yoyo ball was a very colourful creation that I called YoYo Bola. (And maybe it does resemble some kind of virus.) It is made with double yoyos. The big black ones on the bottom are made from t shirt fabric. Intrigued? If so than you than you can click here to find the blog page about it.
2. I have been asked if these balls could be made with ribbon instead of fabric. The answer is yes. Ribbon yoyos are also called ribbon rosettes. Here is a tutorial for ribbon rosettes.
http://zakkalife.blogspot.com/2008/05/ribbon-rosette-craft-series.html
To make a ribbon yoyo the same size as my fabric yoyos choose a ribbon that is 3/4 inch wide and cut it 5 1/2 inches long. Join the ends with a 1/4 inch seam then use a running stitch to gather one edge. Here are couple I made.

The green one uses 3/4 inch ribbon. The red one is slightly smaller. One important detail about working with these ribbon yoyos. If you want to sew a button or something else to the middle you will have to put a scrap or ribbon (or circle of fabric) at the back to catch your thread. (The needle has to go through something that won't pull through the hole.)
3. Currently I am working on a Christmas fabric pomander. I don't have enough buttons to finish it, which is why I am blogging instead of working on it. :] (The photo below does not do the vibrant fabric justice.)
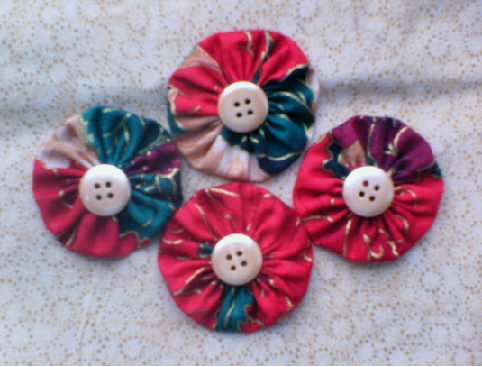
4. Another one waits in the wings...
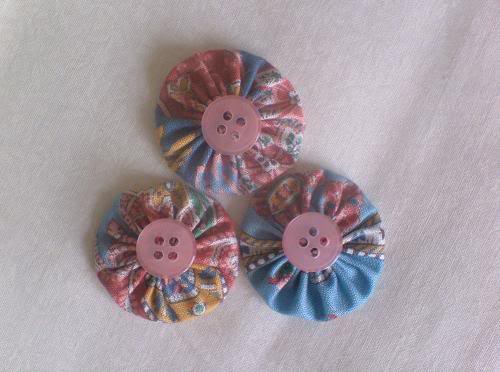
5. And if I don't get to the "button store"... There are always fabric swirls, paper stars, bead caps, organdy or lace rosettes...


... or ribbon embroidery or tatted circles...
6. And if I don't get to the fabric store there is always bias tape or even lace hem tape. It takes the curves very well.


Pinwheel 2009